|
|
|
|
|
|
|
| |
Control Panel > Setup > Vendors
Adding a Vendor:
Note:
- When adding a vendor, it will not be available in the Certificates of Insurance (COI) module unless the Certificate of Insurance section has been filled in.
- For information on creating a vendor COI, see Adding a Vendor COI and associated topics.
- Go to Control Panel > Setup > Vendors.
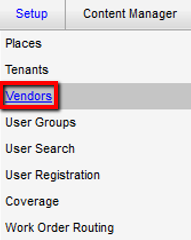
- In the Vendors section, click on New Vendor. The Vendor Profile screen is now displayed.

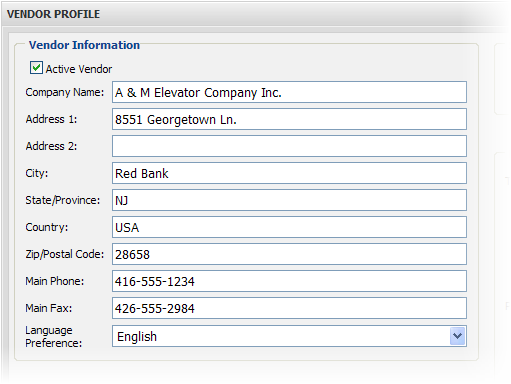
- In the Vendor Information section, enter the following information in the fields provided:
- Company name
- Company address (using the Address 1 and Address 2 fields, as necessary)
- City
- State or Province
- Country
- Zip or Postal Code
- Phone Number
- Fax Number
- If your company has additional languages enabled, use the Language Preference drop-down to select the preferred language of the vendor.
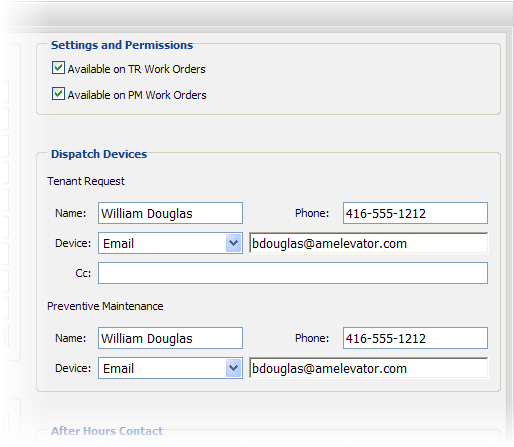
- If the vendor will receive dispatches for TR or PM, click on the appropriate check-boxes in the Settings and Permissions section.
- Fill in the Dispatch Devices section for TR and/or PM.
- Enter the name and phone number of the person who receives work orders.
- Select the appropriate Device type and enter the e-mail address, if applicable.
- To send work orders to additional recipients, enter their address in the CC: field. (If there is more than one, separate each address with a semi-colon).
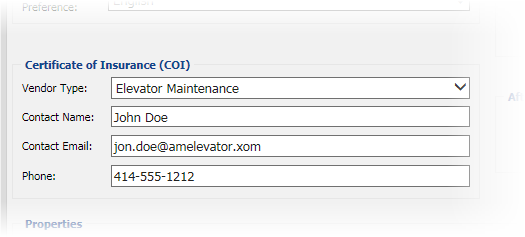
- If the vendor is required to have a Certificate of Insurance (COI), select a vendor type and enter the contact information (contact name, email and phone number) for an individual who should be contacted about COI-related issues.
Note:
- If the correct vendor type is not listed in the drop-down list, then an appropriate vendor type will need to be added. See Vendor Types for additional details.
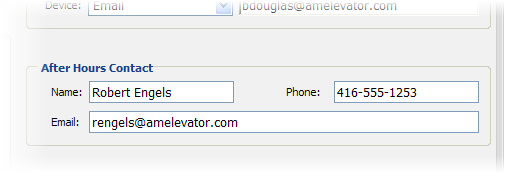
- If there is an after-hours contact, enter their contact information in the After Hours Contact section.
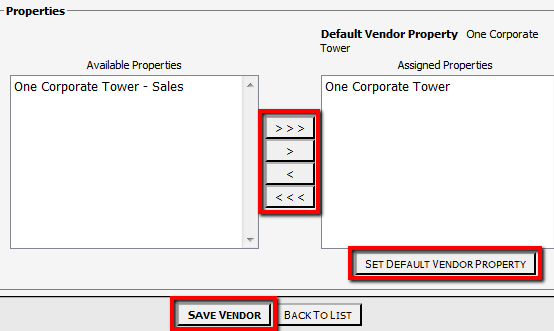
- In the Properties section, select the properties that the Vendor should be assigned to by clicking on the property name in the Available Properties list and then clicking on ">" to move this property to the Assigned Properties list. To assign all properties to the Vendor, click on "> > >".
- To set a Default Vendor Property, which will be automatically displayed on the homepage and on the Tenant Requests and TR Work Orders screens when the vendor logs in, click on the property name in the Assigned Properties list and click on Set Default Vendor Property.
- Click on Save Vendor.
|
|
Last Updated: May 17, 2016
|
|
|
|
|