|
|
|
|
|
|
|
| |
Control Panel > Work Order > Dashboard
Adding a Component:
Components are used to display information on your dashboards. Depending on the type, the component will use either a pie chart, line graph, or bar graph to display the data.
Note:
- You can have a maximum of 6 Components in a Dashboard tab.
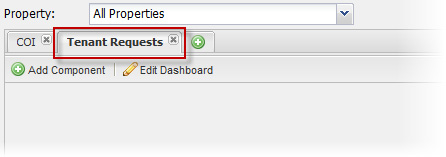
- Select the dashboard that you would like to add a component to. In the example below, a tab named "Tenant Requests" has been selected.
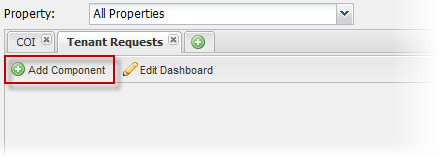
- If there are currently no components in the selected dashboard, the Add Component window is automatically displayed (skip to Step 3). If there are already components on this Dashboard, click Add Component to display the Add Component window, as shown below.
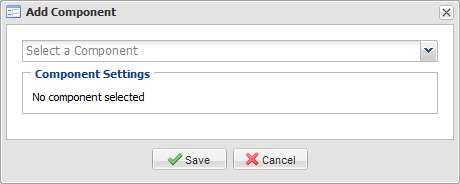
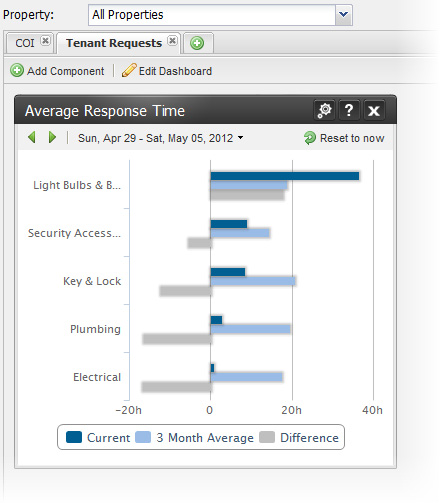
- In the Add Component window, select a component type from the drop-down menu provided. For the purposes of this example, the steps that follow will use the Average Response Time component.
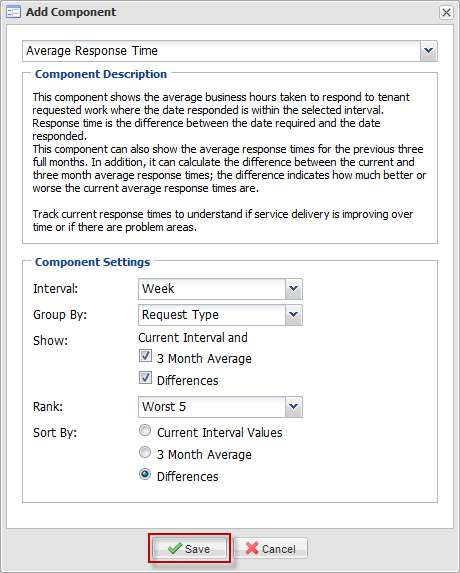
- Once you have selected a component type, the Add Component window will update to display a description of what the component can be used for and a section to enter configuration settings. (Note: Some components do not require configuration).
- Enter the settings you would like to use for your component, then click Save to add the component.
- The component has now been added. For additional information on using components, see Using Components.
|
|
Last Updated: September 04, 2018
|
|
|
|
|