|
|
|
|
|
|
|
| |
Control Panel > My Workspace > Schedulers > Schedulers Tab > Edit Scheduler > Resources Tab> Edit Resource > Sections Tab
Adding Sections/Options:
The Sections tab allows you to add sections of divisible rooms or spaces that can be reserved individually or in combination.
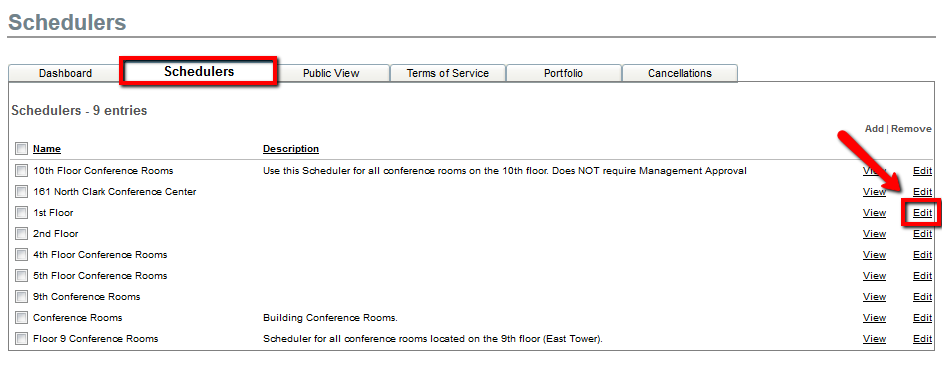
- Go to Control Panel > My Workspace > Schedulers.
- Click on the Schedulers tab.
- Click on Edit for the desired scheduler for which the section needs to be added.
- Click on the Resources tab.
- Click on Edit for the desired resource for which the section needs to be added.
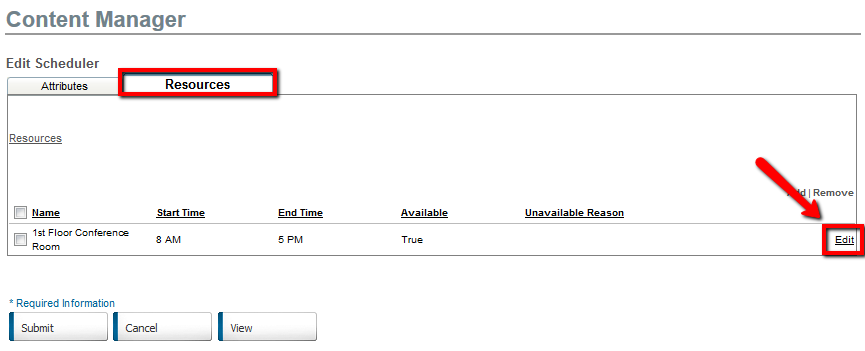
- Click on the Sections tab.

- Input the section name in the New Section Name field and click Add.
• For example: Sections A, B, & C.
- Once the sections are added, you can add Options. Click add on the right of the options heading.
• For example: A & B, B & C, Whole Room

- Add the name of the option and select the desired sections, then click the arrow to move to the right.

- Click Submit.
|
|
Last Updated: April 25, 2019
|
|
|
|
|