Work Order > Visitor Security > Restricted Visitors
Restricted Visitors:
The Restricted Visitors list can be used to identify individuals who, for reasons of security, should not be permitted access to properties. Visitor names are compared against the names in the Restricted Visitors list and possible matches are flagged in the Expected List and on the Visit Details screen.
Adding a Restricted Visitor:
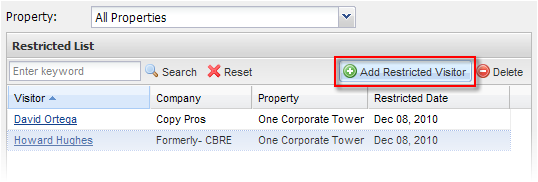
- Go to Work Order > Visitor Security > Restricted Visitors.

- Click on Add Restricted Visitor on the top right.
- Fill out all applicable information that would allow your building's front desk or security to prevent an unwanted visitor from entering the building.
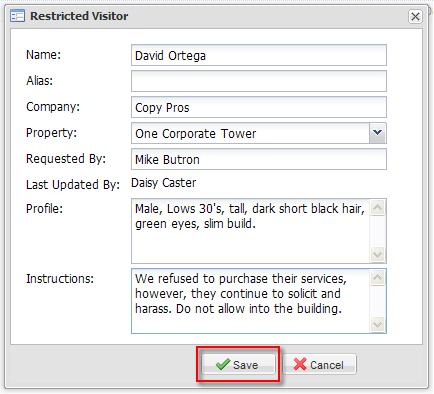
- Click on Save.
Deleting a Restricted Visitor:
- Go to Work Order > Visitor Security > Restricted Visitors.
- From the Restricted List, click on the name of the visitor of whom you wish to remove from the Restricted Visitors list.
- Click on
 on the top right.
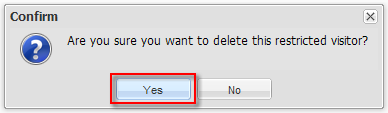
- Click on Yes when the confirmation box pops up.