|
|
|
|
|
|
|
| |
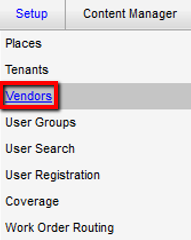
Control Panel > Setup > Vendors
Deactivating a Vendor:
Note:
- Deactivating a vendor will make the vendor unavailable to all properties that the vendor was assigned (scoped) to. To change the vendor's scope instead (so it will no longer be available to specific properties), edit the vendor's assigned properties. See Editing a Vendor for more information.
- Go to Control Panel > Setup > Vendors.
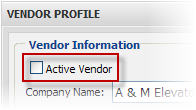
- In the Vendors section, click on the vendor name. The Vendor Profile screen is now displayed.
- Click on the Active checkbox to clear it.
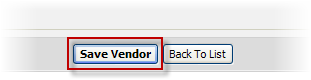
- Click on Save Vendor.
|
|
Last Updated: May 17, 2016
|
|
|
|
|