|
|
|
|
|
|
|
| |
Control Panel > My Workspace > Schedulers > Schedulers Tab
Adding a Service:
Note:
- A Service must belong to a Service Group that has already been created.
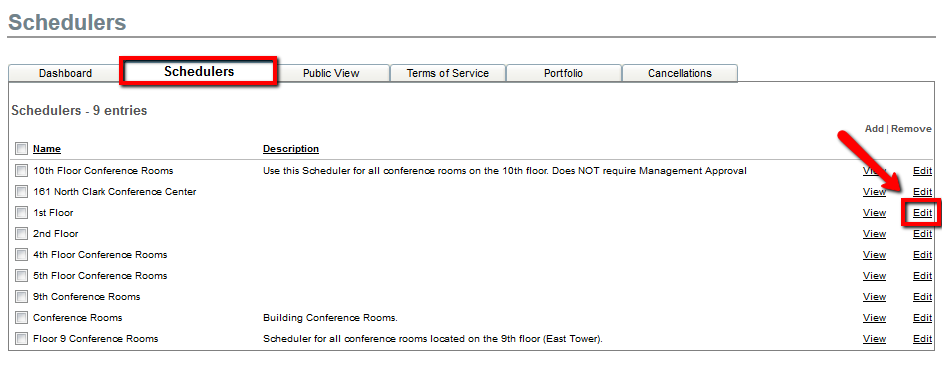
- Go to Control Panel > My Workspace > Schedulers.
- Click on the Schedulers tab.
- Click on Edit for the desired scheduler for which the layout needs to be added.
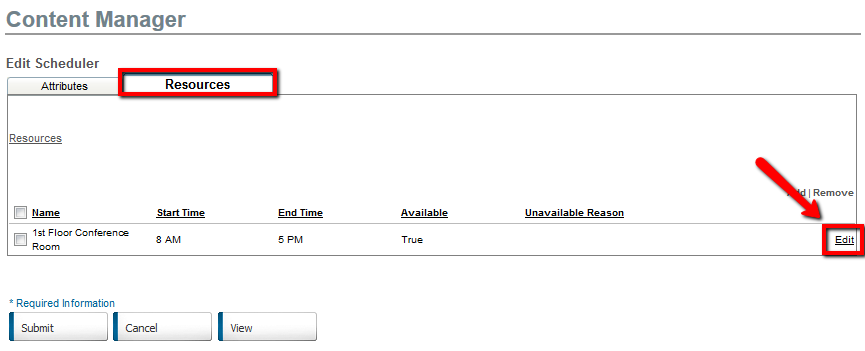
- Click on the Resources tab.
- Click on Edit for the desired resource for which the layout needs to be added.
- Click on the Services tab.
- Click on Add next to Services.
 
- Check the Active checkbox if you would like the service to be available to tenant users when making a reservation.
- Select a Service Group from the drop down menu.
- Enter a Service Name
- Enter the applicable Rate for the service. The rate can be hourly or a flat fee.
- Upload an optional Service Image.
- Click Submit to save the service or click Submit and add to options to save and add the service to all available options that have been added to the Resource

|
|
Last Updated: October 24, 2018
|
|
|
|
|