Unlike Tenant Users, there is only one method to create Non-Tenant Users.
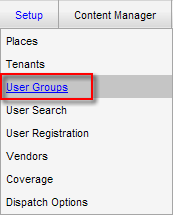
1. Click Control Panel > Setup > User Groups
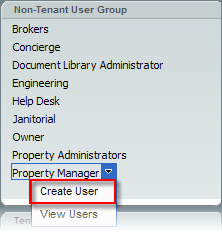
2. Locate and click on the Non-Tenant User Group from the left pane for which you would like to add Non-tenant users to.
3. Click on  to display the drop-down menu and its options.
4. Click Create User.
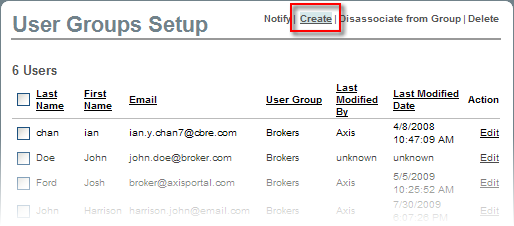
5. OR click Create from the top right of the User Groups Setup page when a Non-Tenant User list is being viewed for a specific Non-Tenant User Group.
6. Fill out all required Basic Information.
Notes:
• Depending on the status of the newly created user, individuals receive different Email Settings. If you would like for an
e-mail link to show up on the Management Contacts page, you'll need to check Contact Section under E-mail settings.
Below is a description for each e-mail setting:
• Message Blaster: Checking this subscribes this user to emails sent from
Message Blaster
• Approve Users: Checking this subscribes this user to receive an email
notification whenever a tenant user requests to be added to the
property’s portal
• Contact Us: Checking this subscribes this user to receive emails sent
from the Contact Us page on the property’s portal
• Contact Section: Checking this displays an email link on this user’s
listing on the contact pages this user has been added
to e.g. Management Contacts, Engineering Contacts, Leasing Contacts, etc.
• Available Spaces: Checking this subscribes this user to receive email
notifications when someone clicks on detail for an available space in the
Availabilities page and fills out their information in the popup box.
(Enable Tracking must be checked in the Control Panel for this popup box
to appear). Note: User must also be added to the Leasing Contact Section
Group in order to receive these email notifications
• Approve Scheduler: Checking this subscribes this user to receive an
email when a user requests to book a resource
• Checklist Notification: Checking this subscribes this user to receive
an email when a Checklist is due
• Lease Notification: Checking this subscribes this user to receive an
email when a lease is nearly due
• For assistance in creating a password, consult with your administrator or contact AXIS Portal Support
7. If you would like a User to show up on the Contact Section of your Axis Portal, click on the Additional Information tab; and proceed to fill out the Title and any other desirable optional information.
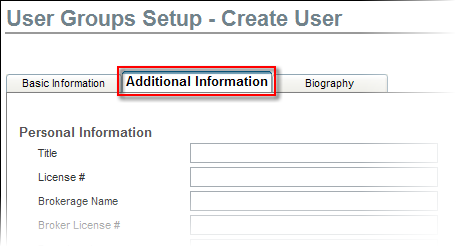
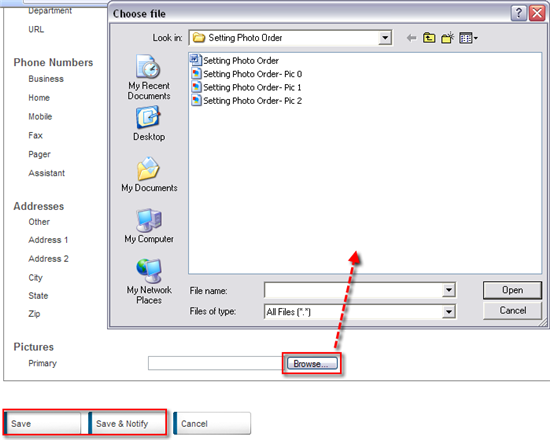
8. Scroll to the bottom of the page. Click Browse.
9. Locate a portrait image of the new user from your local hard drive or network using the pop-up window.
10. Click Save or Save and Notify to send out an email notification that the user's account has been created or edited.
